

 | <>
| Fig 1 Here is the still life on my porch that the Spring watercolor class worked on in the gallery. I start with a detailed drawing and then begin to add my darks, being careful to cut in with my brush around any of the shapes that overlap the darker forms. I usually jump right into developing the darkest areas and/or forms on my paintings as this sets the 'tone' of the overall painting for me. In figures 2 and 3 you will see that compared to the rest of the painting, these areas look very dark. At this point in the painting I try to establish many of the middle values. (You will see in later images that the dark in the plastic flower pot at this stage, become its highlights and middle values.) For the flower pot, I mixed a fairly thick wash of ultramarine, alizarin crimson and burnt sienna (a good black) and applied this to the pot, all the while being mindful that the pot, although dark, still had many highlighted areas where the light was hitting it. I dipped my brush into cerulean blue and charged this color into the wet 'black' in areas where I wanted 'highlights'. I let this dry completely.  |
 |
The rust texture on the roof of the lantern was created by first laying in a glaze (wash) of raw sienna, which I let dry completely. Then I mixed up a thick soupy mixture of burnt sienna and french ultramarine and washed that over the entire roof area, (being careful to stop at the 'seams'). While this was was wet, I threw a generous amount of kosher salt onto it in no particular pattern and left this area to dry thoroughly for 1 day before I brushed off the salt. This photo reveals the texture that is left behind without any touching up or altering on my part. |
 |
As the lantern and flower pot are drying, I begin to develop the stems and form of each one of the leaves on the geranium. Again, I am laying in the paint in glazes on the leaves, meaning that I am laying in an 'underwash' or 'glaze', letting this dry and then going back in with another wash (or glaze) and developing the recessed and folded areas of my leaves. I'm careful to paint 'around' the veining in the leaves. I drew these 'directional veins' in when I did my preliminary drawing. (not every vein, but enough so that I had an idea of how the leaves were growing and turning toward the sun) For the stems, I wet the entire stem with clean water and dropped in my yellows and blues, and then hit it with a tad more clean water and let them 'run' and 'mingle' on the paper and let this dry. I find this makes for a nice natural stem look. Later I come back to define the shadow side of the stems more. But not till much later... 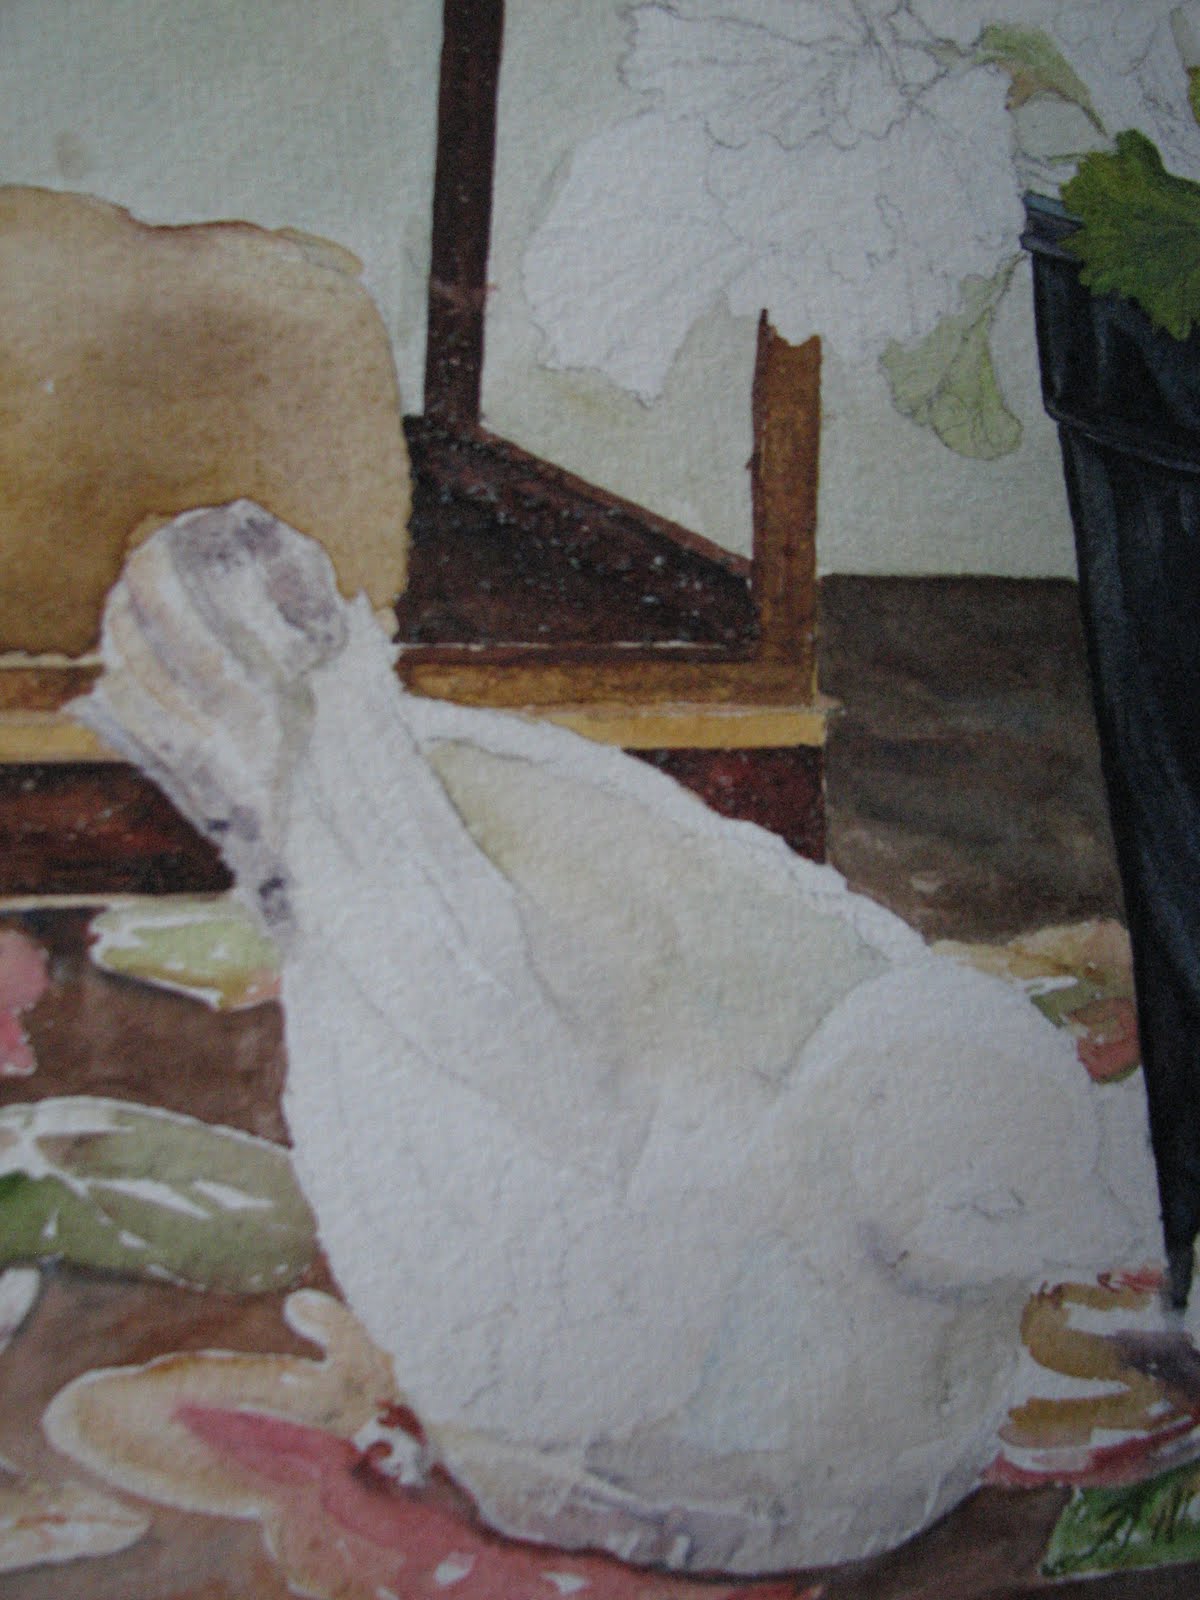  As the painting develops, I have moved around and worked on various areas surrounding the bird scuptures. I have painted in the tablecloth, in stages, so that I can retain hard edges where I need them and let the color in other areas 'merge' using soft edges (as in the flower shapes on the tablecloth). All the while my focus is on developing FORM in each object, through the use of TONAL VALUE. As you can see in the two images at left and right above, I begin to move into developing the birds in the very same way, glazing carefully where I see color being reflected onto them from the tablecloth, from the pot and from the sunlight that is cast over the scene. Since these are essentially 'off white' I have to look carefully to see the colors that are reflected onto them, but these reflected colors and shadow tones are what make up the form of these birds. I always try to repeat the colors I use elsewhere in my paintings so there is unity, so I used raw sienna glazed by itself, the purpley-black mixture of ultramarine/burnt sienna/aliz crimson in some of the shadow areas and where the pot reflects, burnt sienna glazed by itself, and cerulean blue by itself, again, in the shadow areas. The plastic pots have been developed further. Now you can see how the intitial washes that looked so dark at the beginning of the painting, are now 'reading' as highlights and middle values. I have used hard edges (cut in with my brush and maintained crisp, hard edges) to define where the light hits the pot. To do this I painted AROUND the light areas that I wanted to keep (negative painting). You have to keep focused and imagine the space you are painting around or you can lose the highlight you worked so hard to establish. I also did some LIFTING to the pot edge on the top, near the leaves and to the lips where the pot rim and the belly of the pot meet. I want to define these edges so we can see the form of the pot and the planes that make it up. I will show additional stages and the completed painting in a future blog post! Still working on completion..mainly working on individual leaves and adjusting my tonal values throughout the composition. |
No comments:
Post a Comment